
이전 글에서 Google의 Gemma 모델을 Mac에서 구동해보았습니다. 이번 포스트에서는 Gemma와 함께 sLM으로 널리 이용되는 Microsoft의 Phi-3.5-mini 모델을 비슷한 방법으로 구동해보겠습니다. 거의 같은 구조이지만, 약간은 다른 설정을 가집니다.
2024.09.22 - [🟣 AI & ML] - Google의 Gemma 2 모델 Mac Silicon 환경에서 구동하기
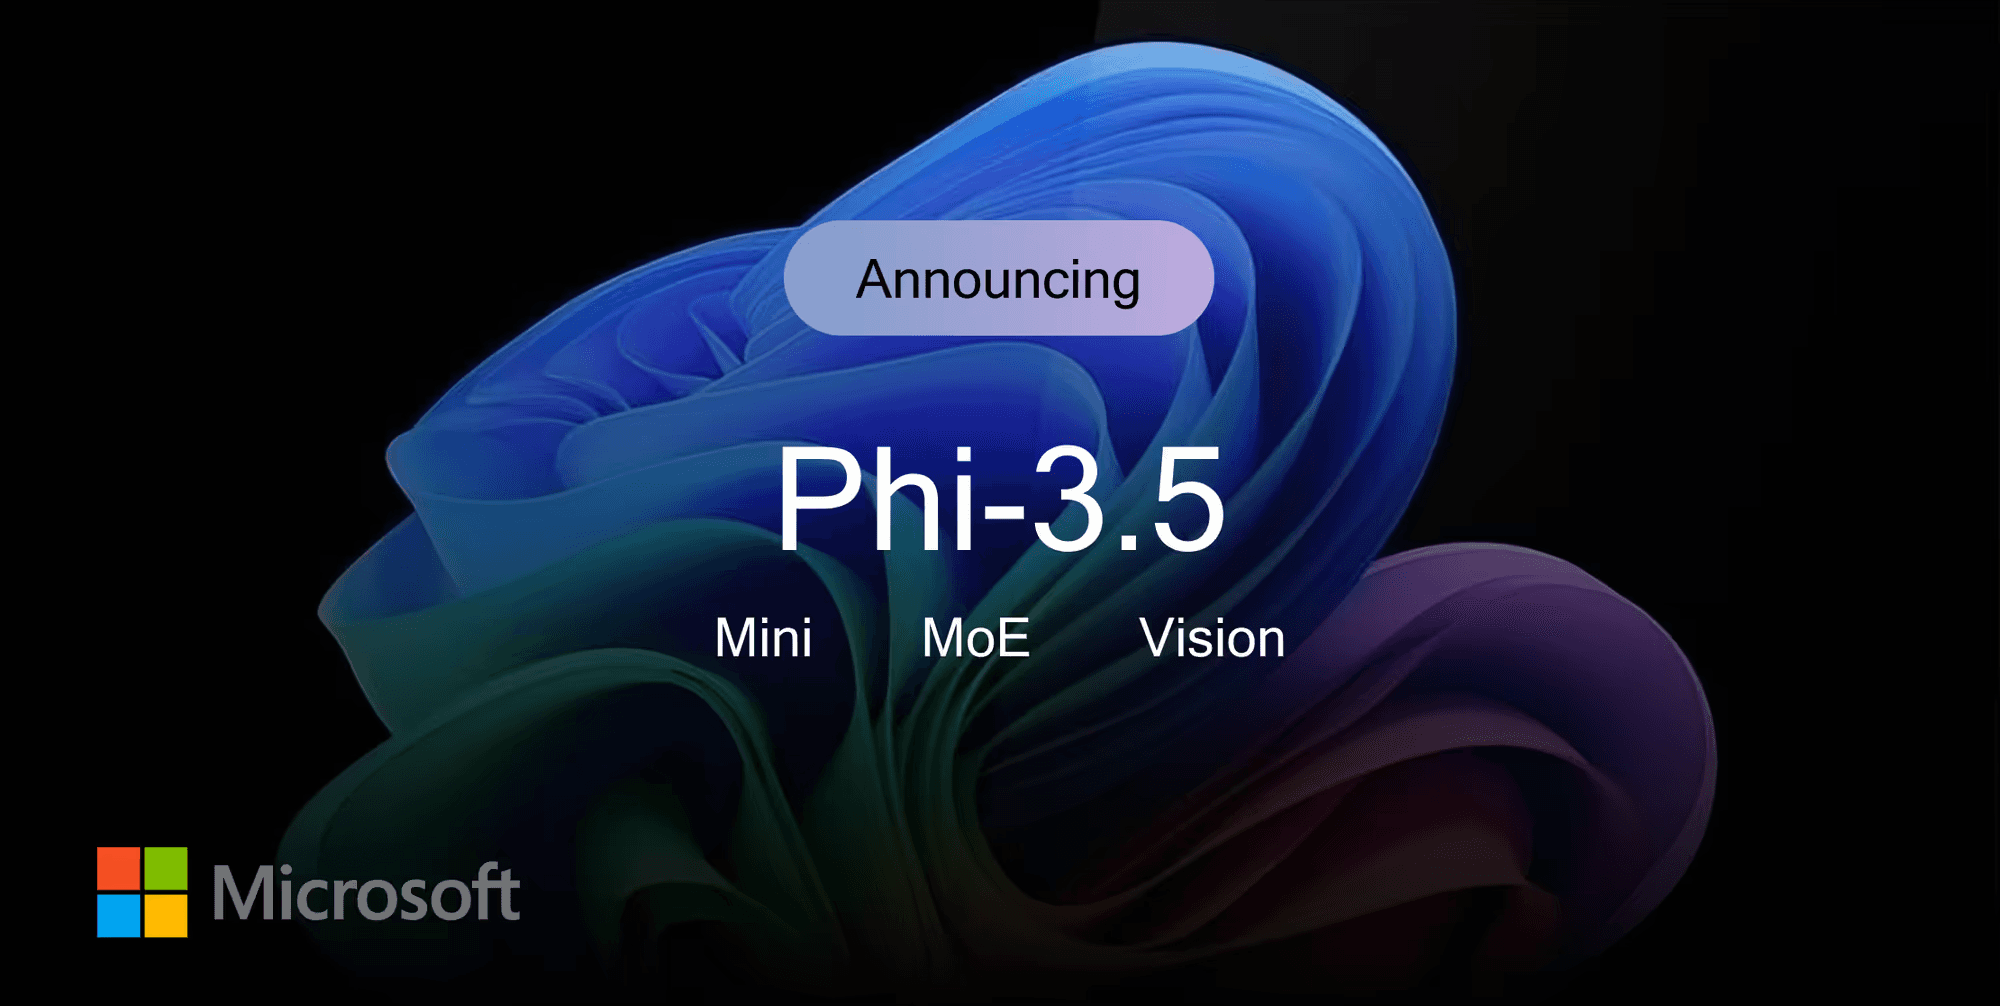
Phi-3.5 모델은 지난 8월 공개되었고, 일반 sLM 모델인 Phi-3.5-mini 모델과 함께 이미지 작업이 가능한 vision 모델, MoE(Mixture of Experts) 모델을 함께 공개했습니다. 모델 규모는 3.8B으로 Gemma 2B 모델보다는 조금 더 큰 규모를 가집니다. 자세한 내용은 Microsoft 모델 소개 페이지에서 확인할 수 있습니다.
Phi-3.5 모델 소개 페이지
먼저, 프로젝트를 구성합니다. gemma 모델을 구동할 때와 동일한 구조로 프로젝트를 구성해줍시다.
myllm
└───models
│   └───phi-3.5-mini
│       │   file01
│       │   file02
│       │    ...
└───phi-3.5-mini.ipynb
└───.env
필요한 라이브러리를 불러오고, 환경을 설정해줍니다. 이 파트 역시 이전 포스트와 거의 동일합니다.
# .env
HF_TOKEN="hf_YOUR_TOKEN"
import os
import torch
from transformers import AutoModelForCausalLM, AutoTokenizer, pipeline
from huggingface_hub import snapshot_download
from huggingface_hub import login
from IPython.display import Markdown, display
login(token=os.environ.get("HF_TOKEN"), add_to_git_credential=True)
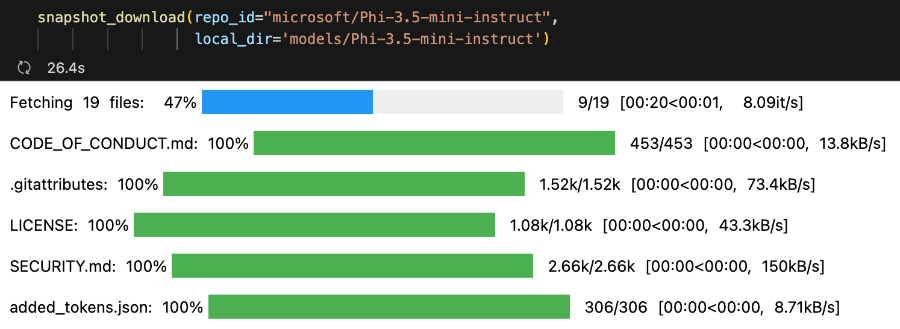
snapshot_download에서 Phi-3.5 모델 저장소 주소(repo_id)와 모델을 저장할 경로(local_dir)를 입력하여 모델을 다운받습니다. 본 포스트에서는 instruct 버전을 다운받겠습니다.
Phi-3.5-mini-instruct 모델 페이지
snapshot_download(repo_id="microsoft/Phi-3.5-mini-instruct",
                  local_dir="models/Phi-3.5-mini-instruct")
모델 다운로드가 시작됩니다. Phi-3.5-mini 모델은 약 7.7GB의 용량을 가집니다.
이제 모델을 불러와봅니다. Mac 환경에서 구동해야 하므로, Mac Silicon GPU를 연동하는 mps가 사용 가능한지 확인한 후 mps를 device에 할당하도록 설정합니다.
device = "mps" if torch.backends.mps.is_available() else "cpu"
model = AutoModelForCausalLM.from_pretrained(
    "models/Phi-3.5-mini-instruct",
    torch_dtype=torch.bfloat16,
    trust_remote_code=True,
    device_map=device,
    )
tokenizer = AutoTokenizer.from_pretrained("models/Phi-3.5-mini-instruct")
이제 대화 기록을 출력하는 간단한 함수를 구성합니다.
def display_messages(messages):
    for i in messages:
        if i['role'] == 'user':
            display_text = "**[User]** \n" + i['content']
            display(Markdown(display_text))
        elif i['role'] == 'assistant':
            display_text = "**[Phi]** \n" + i['content']
            display(Markdown(display_text))
대화 기록을 저장하고, 모델에 입력하는 messages 객체를 생성합니다. Phi 모델은 Gemma와 달리 system prompt를 지원하므로, messages 객체 생성 시 system role을 지정하고 간단한 system prompt를 입력해줍니다.
messages = [{"role" : "system", "content" : "You are a helpful AI assistant."}]
이제 사용자 입력 파트를 설정합니다.
query = input()
messages.append({"role" : "user", "content" : query})
pipeline을 이용하여 Phi 모델과 tokenizer를 연결해주고, 생성 파라미터를 설정합니다. return_full_text 옵션은 결과 생성 시 이전 대화 기록을 결과에는 포함하여 출력하지 않도록 합니다. Gemma 모델을 이용할 때에는 이 옵션이 작동하지 않아 다른 방법을 이용했었습니다.
또한, Gemma에서는 pipeline을 사용하지는 않았는데 어떻게 구현해도 상관은 없습니다. 보통은 모델 소개 페이지를 참고하여 해당 양식과 유사하게 코드를 작성합니다.
pipe = pipeline(
    "text-generation",
    model=model,
    tokenizer=tokenizer,
)

generation_args = {
    "max_new_tokens": 500,
    "return_full_text": False
    }
이제 생성을 수행합니다.
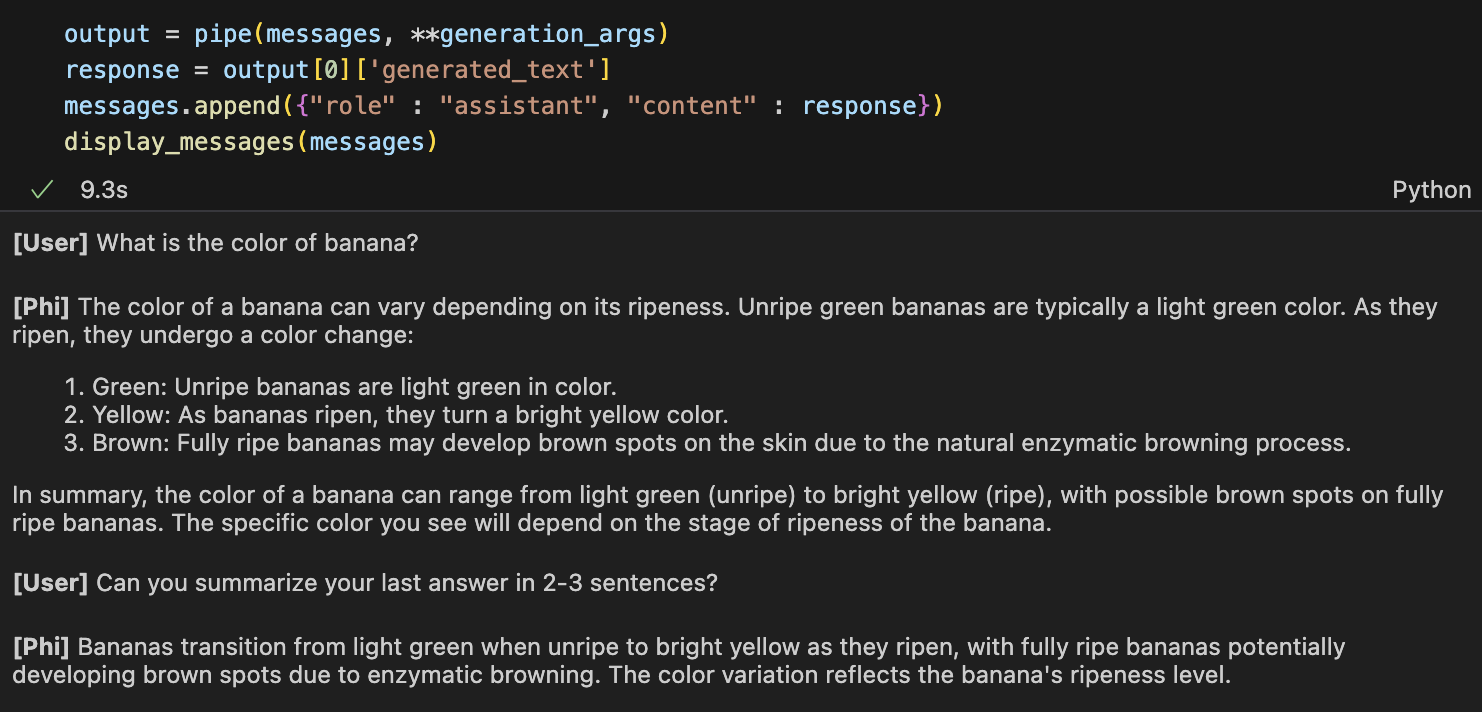
output = pipe(messages, **generation_args)
response = output[0]['generated_text']
messages.append({"role" : "assistant", "content" : response})
display_messages(messages)
간단한 질문을 입력해보고, 대화 기록을 기억하여 답변하는 지도 테스트해보았습니다. 답변이 잘 출력되는 것을 볼 수 있습니다.
Phi와 Gemma 모델의 구동 방식은 유사하지만, 세부 설정이 조금씩 다르다는 것을 알 수 있습니다. 그래서 모델이 바뀌면 세부적인 생성 설정과 환경을 조정해주어야 합니다.
Gemma와 Phi-3.5를 비교했을 때에는, Phi-3.5 모델이 조금 더 답변 디테일이 좋았다고 느껴졌습니다. 물론, 두 모델 모두 한국어를 아직 지원하지 않는 점은 아쉬웠습니다. 다음엔 두 모델의 구조에 대해 좀 더 자세히 조사하고, 다양한 작업을 수행해본 후 비교 및 분석을 해 볼 필요가 있을 것 같습니다.
'🟣 AI Study' 카테고리의 다른 글
| Phi-3.5와 PGVector 벡터 DB를 이용한 검색증강생성(RAG) 시스템 구축하기 (2) | 2024.09.26 |
|---|---|
| Meta, Llama 3.2 출시: 경량 모델(1B, 3B)과 비전(Vision) 모델 공개 (3) | 2024.09.26 |
| Google의 Gemma 2 모델 Mac Silicon 환경에서 구동하기 (3) | 2024.09.22 |
| OpenAI, 복잡한 작업의 추론에 특화된 'OpenAI o1' 모델 미리보기 공개 (0) | 2024.09.13 |
| Stability AI API의 Inpaint 기능으로 그림의 일부 파트만 생성하기 (0) | 2024.09.09 |


댓글